Settings
The feature works by hosting a full Web server inside Ragebot which your devices can then communicate using a standard web browser such as Chrome or Edge.
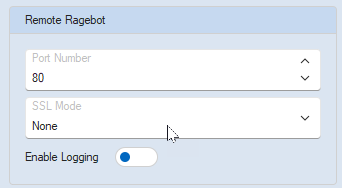
The default port is 80 which is the standard port for web traffic. Once enabled, the web server will start up on the specified port and you can connect to the site by going to http://localhost.
This link will only work when visited from the same computer that is running Ragebot. If you wish to visit the site from other devices, you need to use the IP address of the computer running Ragebot instead. e.g. http://192.168.1.10 and ensure your firewall allows incoming traffic to that port.
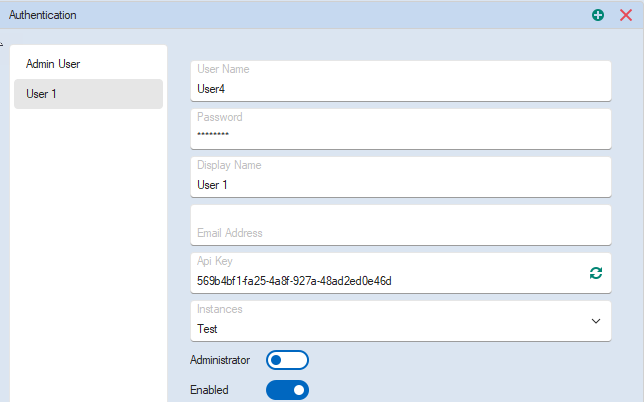
When visiting the site, you will be prompted for a username and password.
These credentials are entered for each user you want to give access to. Add a new user and assign a username, password and ApiKey to each one. The user can then log in using those credentials.
Administrators can access EVERY instance. Standard users can only access the instances that you have chosen in the "Instances" drop down.
Users can also log in directly without using the username and password. To do this, they must visit the site by sending their ApiKey as a parameter.
e.g. The user in the image would visit:
http://localhost?key=569b4bf1-fa25-4a8f-927a-48ad2ed0e46d
If you/they choose to input the username and password instead, note that both user name and password are case sensitive.
SSL Settings
None
The site will not be accessible using SSL. This should only be used for local connections. You should not open an unsecured Remote Ragebot to the internet.
 Custom Certificate
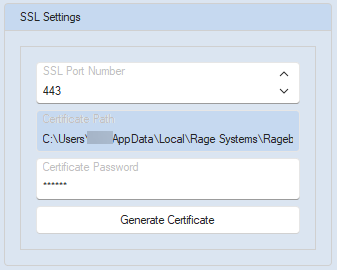
Press the button to generate a self-signed certificate. It will be secured with the password you specify in the "Certificate Password" box. Each time Remote Ragebot starts, this password will be used to unlock the certificate.
You may need to add this certificate to your list of trusted certificates as it is not generated by a recognised certificate authority.
The self signed certificate will be created at :
%LocalAppData%\Rage Systems\Ragebot\Persistence\RemoteRagebot.pfx
If you already have a certificate that has been issued by a genuine certificate authority, download it as a PFX file and replace the generated certificate. Ensure you input the correct certificate password.
If you visit the Remote Ragebot page and the browser blocks you because your self-signed certificate is not valid, make sure the browser window is active and type "thisisunsafe" directly into the window (not the address bar). This should tell the browser to allow access to that page.
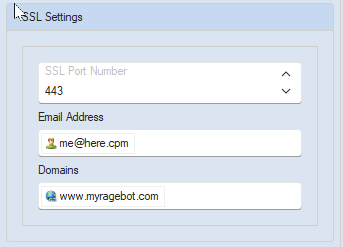 Lets Encrypt
The free service LetsEncrypt can be used to generate a free SSL certificate for the site. This feature requires that the site be accessible from the internet. Ragebot has direct integration with Lets Encrypt and can communicate with it to request certificate generation.
To generate a certificate, you need to input a valid email address and the domain that your site will be hosted on. Then when enabled for the first time after these options are set, Ragebot will request a certificate from LetsEncrypt and assuming it is issued successfully, your site will then be accessible via https.
|
|
You will be able to find your certificate in the Certificate Manager Console. Search for "Manage User Certificates" in Windows Settings. Should you have trouble using the LetsEncrypt function in Ragebot and find that certificates are not being generated, you can manually add them in the console.
Please do not use your site over the open internet without a valid certificate.
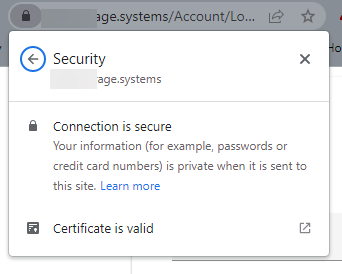
You can confirm your certificate is correctly installed by visiting your Remote Ragebot site using https: and checking for the padlock on your web browser.
